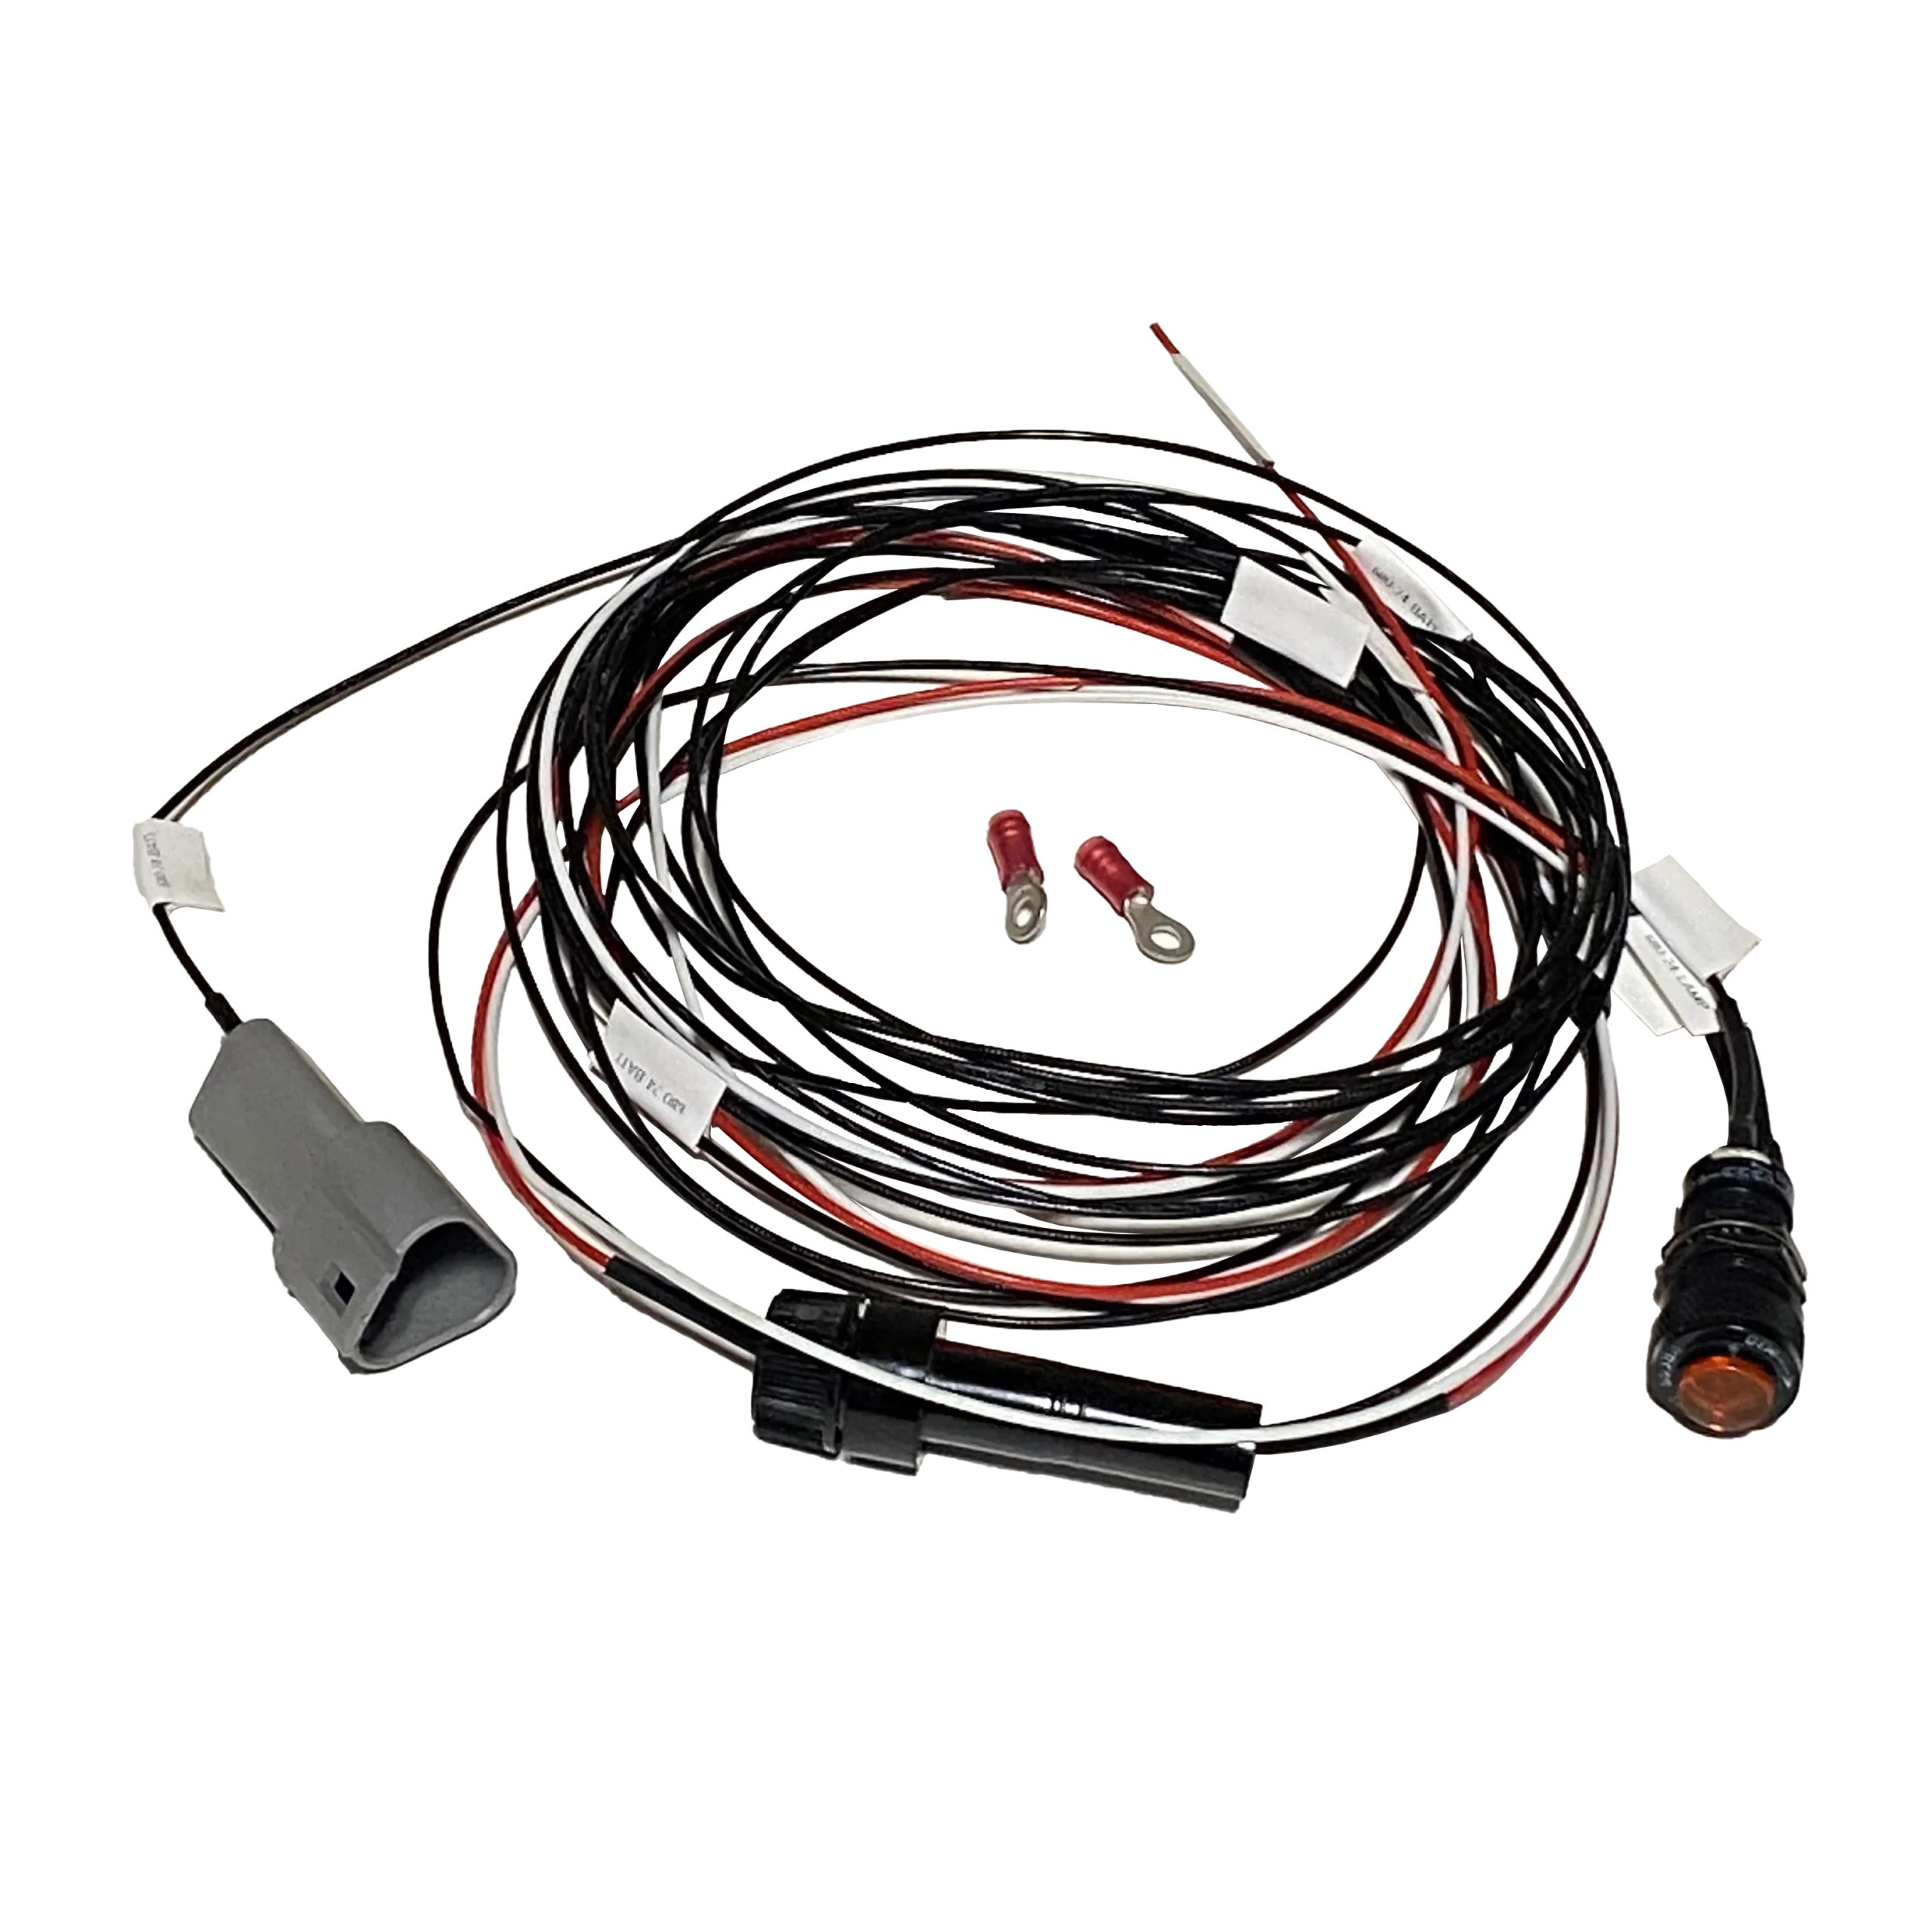
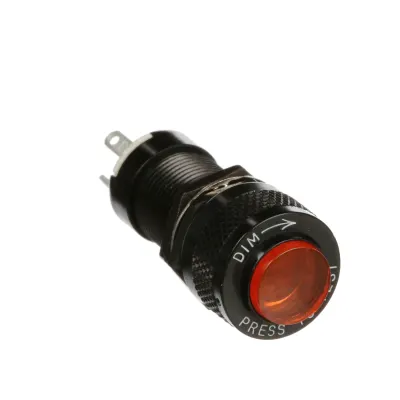
The LED Press to Test indicator features a dimming actuator, LED replaceable lamp, and an amber lens. This military grade panel mount indicator meets or exceeds military specification MIL-L-3661B with high quality black anodized aluminum housing.
The 24V indicator light is easy to install and compatible with a 24V electrical system. If you do not have an EFIS to connect to, this is a required indicator light if installing in a certified aircraft along with the ETX680-24-TSO battery. Detailed installation directions are located in the EarthX manual but it is very simple. To install, connect red wire to a positive bus connection, connect the black wire to the EarthX battery.
The positive wire (red wire) of the LED should be connected to the electrical bus (24volt positive), typically to a fuse/breaker downstream of the master switch. Connect the negative of the LED (black wire) to the fault monitor wire of the battery.
Steps:
1: Install the 24V LED Indicator light thru a hole in your control panel.
2: Connect the 3-pin plug from battery into the 3-pin plug from LED.
3: Connect the red wire to an electrical bus fuse/breaker (.25-1 AMP). Most of the time it is most convenient to connect to a fuse on the back side of the panel. If not, it could also be connected directly to the positive terminal of the battery with a ¼” ring lug connector.


